A hybrid-type kayak (two types of construction techniques) still use forms for the deck, they’re just set up a little differently. The Great Auk used a strong back with forms that shaped the complete boat. The Night Heron uses the hull to hold the forms. That’s why it was so critical to set the workspace straight and level to start.
Editing Note- When I started building the Night Heron in 2014, I had no idea that I would do a blog about the experience. These posts are recalling the build from memory with a few photos.
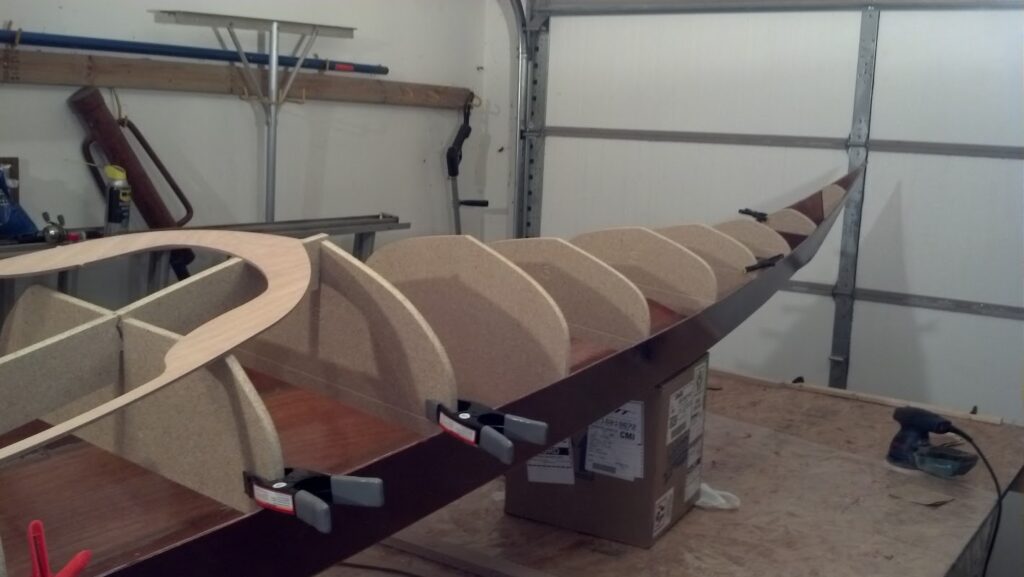
There were forms every foot just like the Auk but most were top-half forms. The only full size forms were around the cockpit and near the bow. We’ll circle back to that reason in a bit.
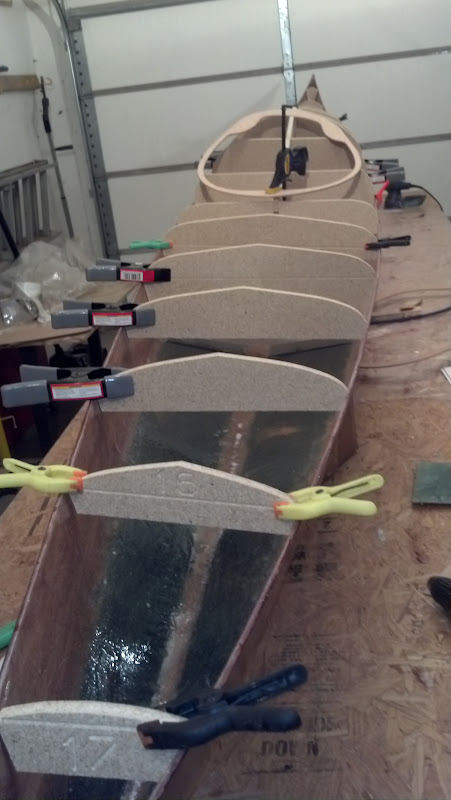
Each form had it’s corresponding number routed in. Number one was at the bow and 17 was at the stern. If you look carefully, you can also see a horizontal line cut into the form. That is there to align the forms with the hull shear line. I used clamps to temporally hold them in place until I had the correct spacing 12″ apart. I then used hot glue to hold them in place but found that if I pulled the hull in the wrong place, the glue would fail and then I would loose my alignment. I used small screws to really hold them in place. Once again, I wasn’t worried about the holes left once I removed them, the hull already had 100 holes already that had been patched by the fiberglass and epoxy. The screws were within an inch of the top edge of the hull and would be filled by the glass and epoxy covering overlapping from the deck
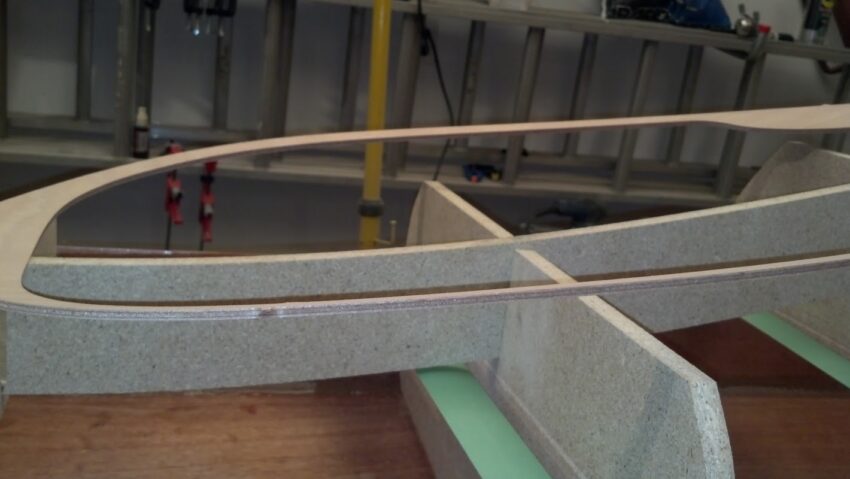
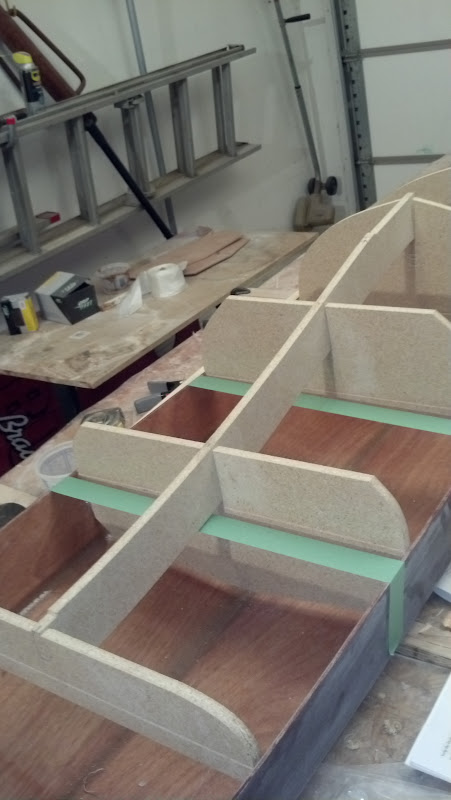
Forms numbers 4, 7, and 13 were full sized and fit in the hull snugly. Number 4 is where the deck started going from almost flat to a rounded shape. I’m assuming they designed that because later as I started forming the cedar strips, this form had a lot of pressure and torque due to the cedar strips starting to twist. Seven and 13 were the front and back of the cockpit where the plywood bulkheads would set so those needed to be accurate. The bulkheads were precut plywood and the tighter the fit, the less filler and a better chance of holding water.
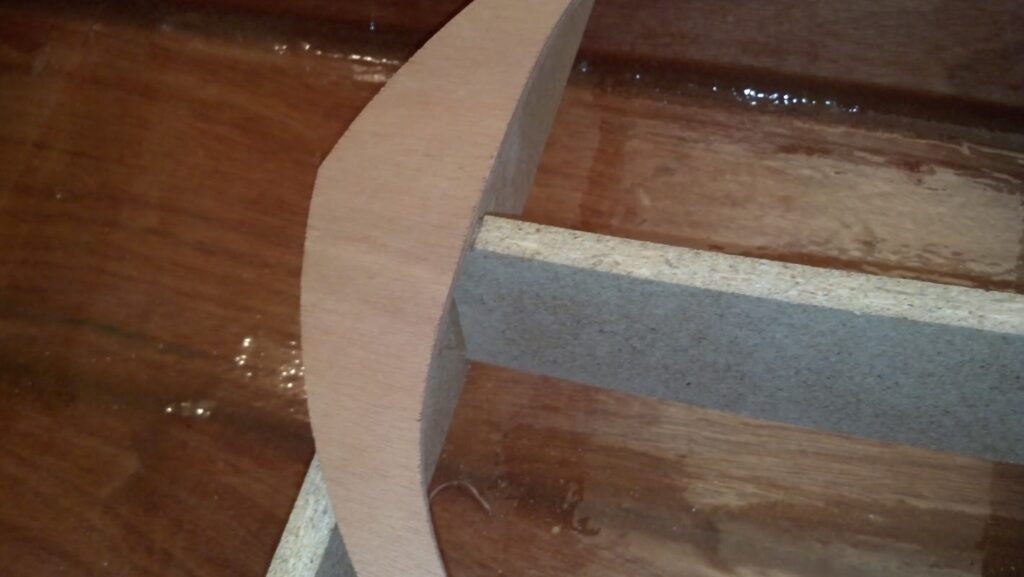
I nailed the first coaming piece to the forms. The rest of the coaming will come later after all the strips are in place.
I double and triple checked the measurements and alignments and I couldn’t put it off any longer.
Once you submit your post comment, please allow time for the comment to be approved before it appears on this page.