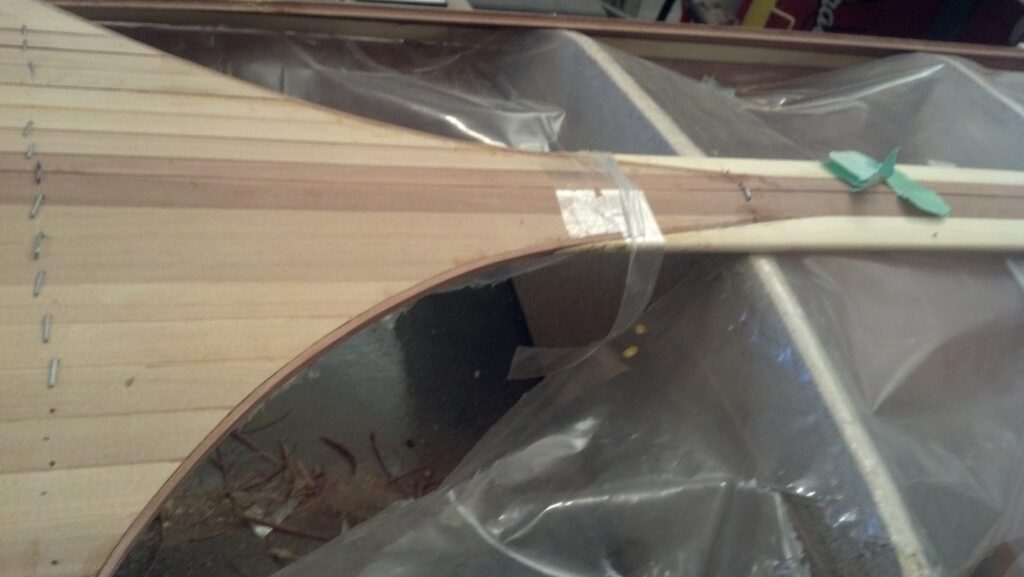
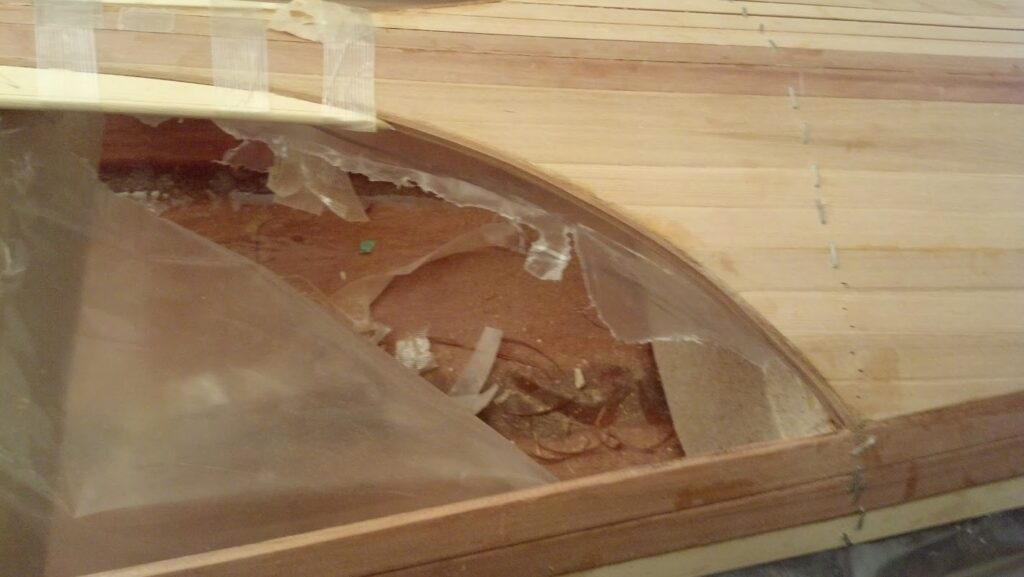
Another change in stapling I would use is to make sure the staples are lined up. Many times, the staple would be slightly angled. This had the effect of making the staple line look a little wider. It’s a small detail but it’s all part of learning.
If I had it do over again, I’d still use the staples to hold the planks while glue dries but I would look for thinner staples. I used the standard-type Arrow staple which were flat but had an angled point. I don’t know the exact thickness of the 7/8″ staple but if I could find a thinner, it probably would leave a little smaller hole.
Now to be honest, hardly anyone notices the staple holes. I’ll mention it to someone looking at the boat and they’re often surprised.
Editing Note- When I started building the Night Heron in 2014, I had no idea that I would do a blog about the experience. These posts are recalling the build from memory with a few photos.
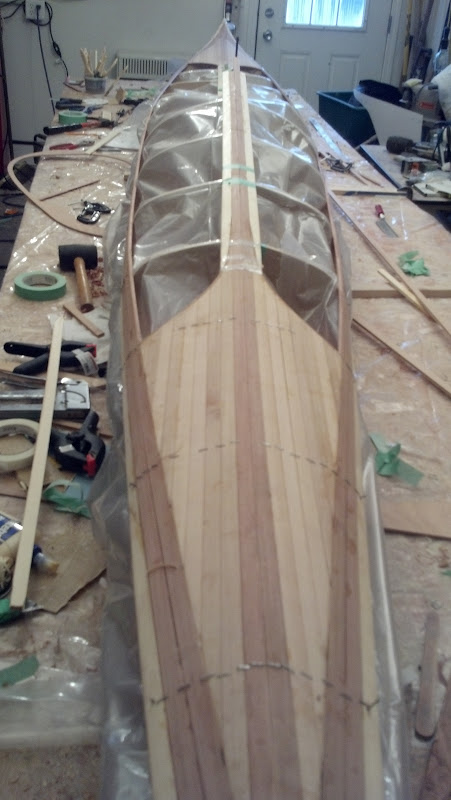
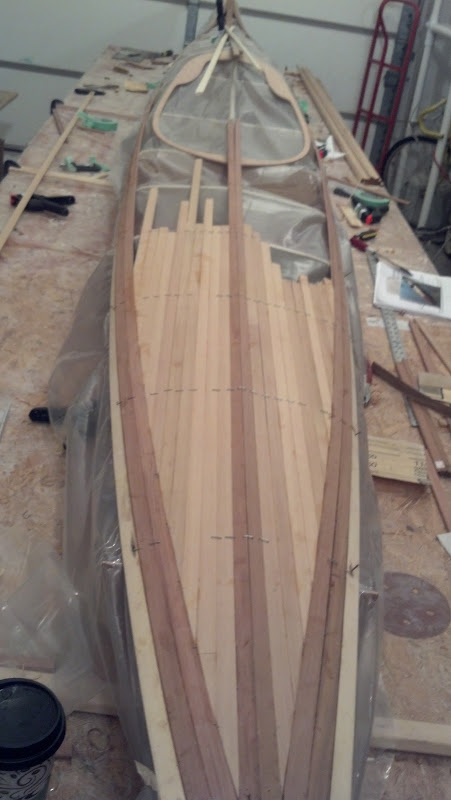
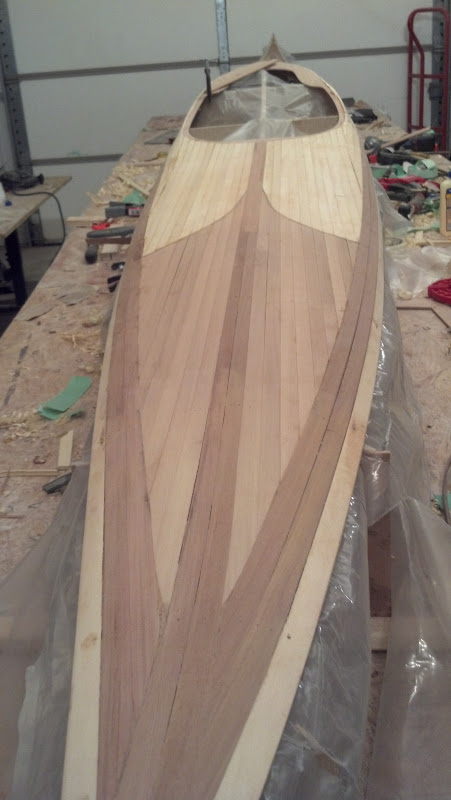
A keen eye would now pick up that the coaming that I was so careful to get positioned is gone. I had used 4dd finish nails to tack the coaming in place which made the coaming easy to remove with the well marked holes remaining. This allowed me to run the center section all the way to the bow. That way everything lined up including the courses of planks.
Essentially, when I did the design for the deck a started with three sheer strips along the hull then two strips along the top of the deck. This framed my design, which was a straight-ahead look and I started planking from the top down.
Once you submit your post comment, please allow time for the comment to be approved before it appears on this page.