The glassing went very smooth, almost too smooth, I kept waiting for the other paddle to drop and it never did. It turned out just as it should except at the beginning.
I’d purchased 4oz cloth for this deck. Measured the length twice to make sure I was 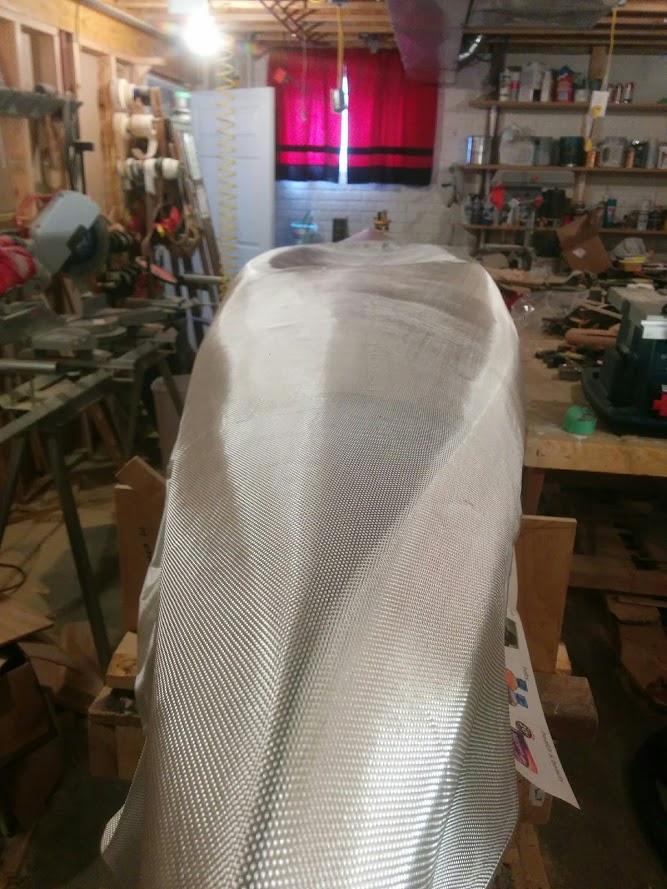 ordering a long enough piece. What I didn’t bother to double check the width of the boat. Well I did measure it at 26” at the cockpit so I ordered cloth 30” wide. Well it turns out that 30” would have been perfect except for the curve of the boat. Four inches short. Duh…!
I could have patched together three pieces of 4oz but I really felt that it needed to be one piece. I had more than enough 50” wide 6oz so that’s what I used. 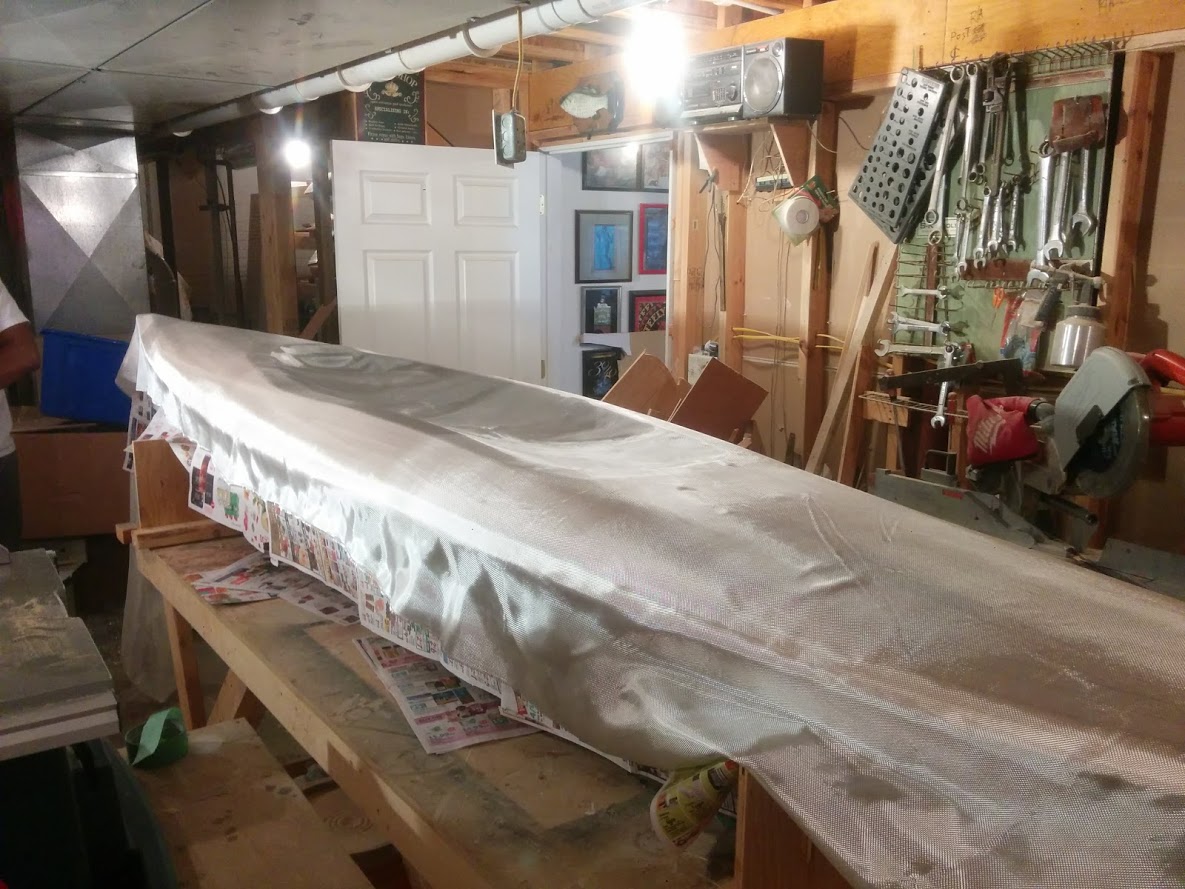
Six ounce cloth is overkill for this deck plus it requires more epoxy to fill so there went the weight but I was ready to go. So as you can see from the images I will now have a super strong deck.
I taped off a line about three inches or so below the top of the hull and papered the rest of the hull to protect it from epoxy drips. It also gave me line to pre-trim the cloth.
Using plastic spreaders helped distribute the epoxy evenly without too much snagging and pulling of the cloth. I mixed 12 oz. of epoxy to start and ended up mixing another 3 oz. which came out perfectly.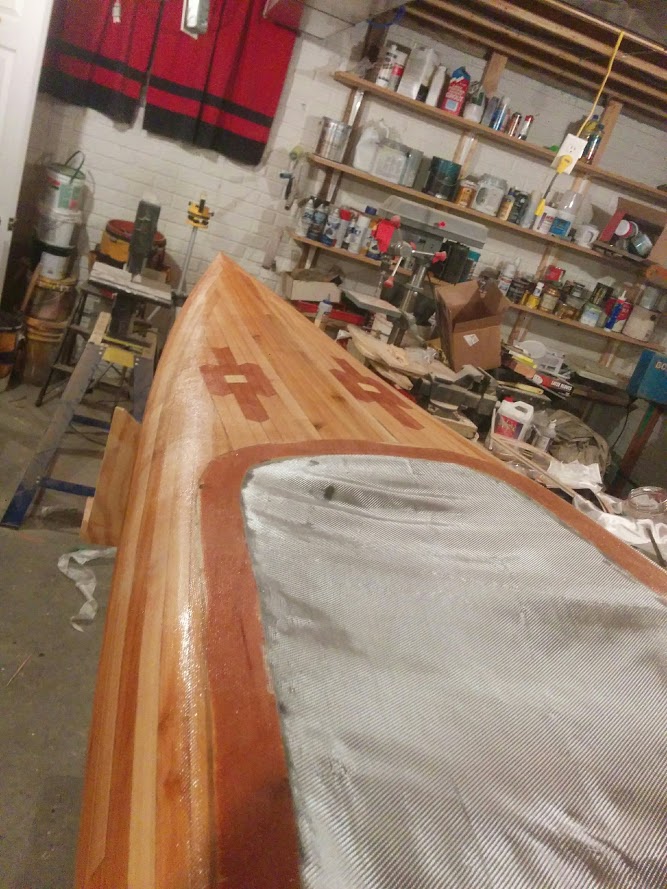
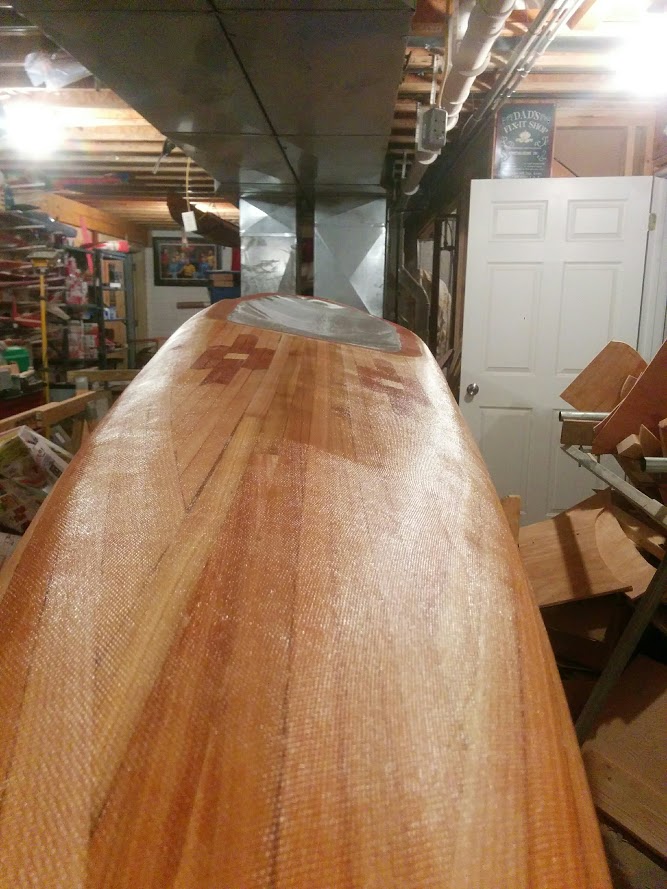
One problem when doing this type of hull is puckering of the fabric at the edges. It’s where you stretch one section to conform and the next section doesn’t want to lay down. Making sure the glass is laid on the bias (cross-ways) helps but it still happen especially if the hull has a very soft chine. I had one such pucker but I was even able to get that to stick down once the epoxy started curing.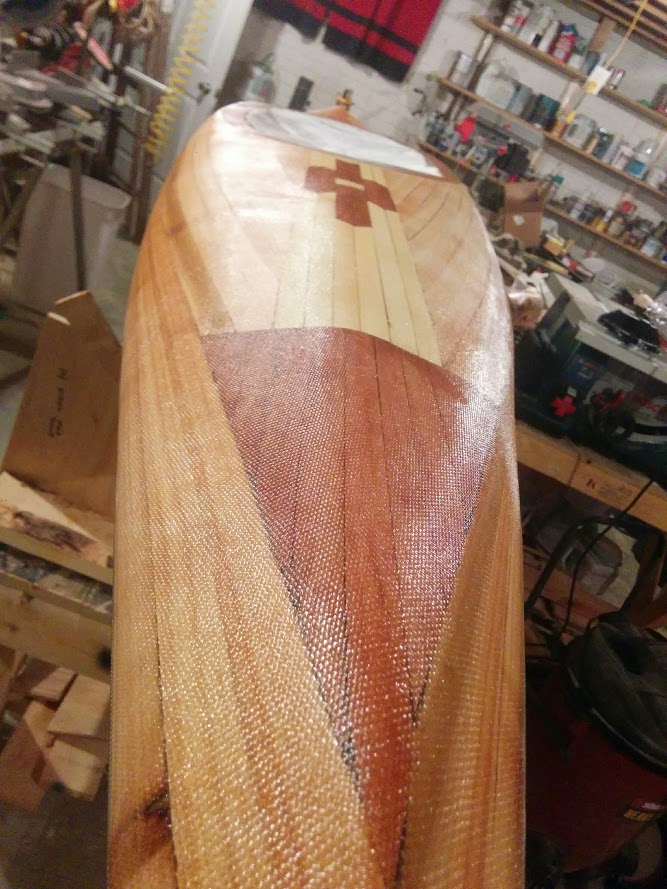
I waited for about three hours and with the epoxy still a little pliable, I ran a sharp knife along the taped edge. It easily pulled away and I ended with a nice edge.
Next I will build a seat and back support out of foam, then finish and glue the combing on the cockpit edge. At that point I will be ready for testing to see if it’s stable and worth finishing out. That will be in June when the water is warmer, just in case.