At least the ones I have photos of
Editing Note- When I started building the Night Heron in 2014, I had no idea that I would do a blog about the experience. These posts are recalling the build from memory with a few photos.
To recap, I took pictures while I was building the boat but as time went on, it would slip my mind. I think I was so focused on the next steps that I simply failed to stop and assess and document my work. I think I did better on my second and third projects. But even on those projects, it was still a challenge. I’ve even tried to make a couple of videos and I soon realized it took three times as long to glue a plank. I really admire those on YouTube that can create a quality how-to video.

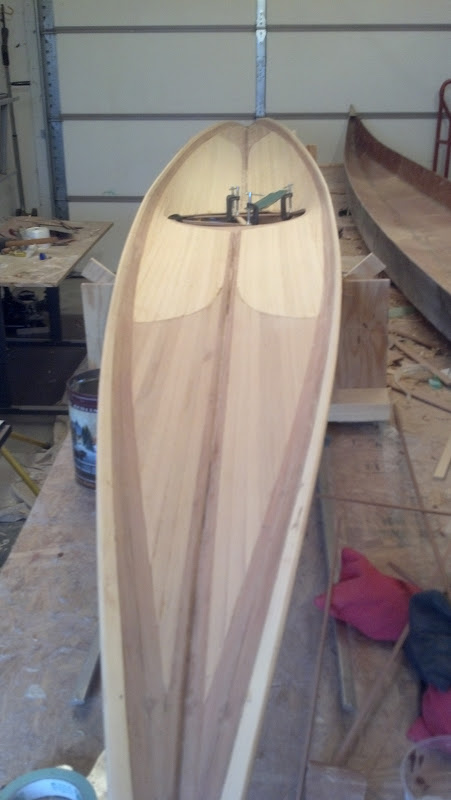
What wasn’t furnished in the kit that I added later is the retractable skeg. You can see the rectangular slide and handle in the image. Once I got experience paddling the boat, it became very obvious that when paddle in the wind, the boat wanted to turn into the wind. It’s called weathercocking and that name is based on the weather vane that always points the direction of the wind. Aircraft experience it, rockets do it and so do long boats.
I found myself paddling on one side to keep in a straight line. This was very inefficient.
A skeg is like a sailboat keel. For a sailboat it keeps it heading in the right direction plus it keeps it from tipping over in the wind. I never had the tipping problem. So after a year of paddling, I bought a kit and added the skeg. When the slide is forward, the skeg extended down from the bottom rear of the boat. When I don’t need it, it hides up inside a small box.
Of course, no pictures but it did make a huge difference. Paddling in wind, especially a cross wind got a lot easier.
I do have a kayak with a rudder that extends off the stern of the boat. It works really well but is difficult to keep adjusted. If I were to build another long boat, I’d consider adding a rudder instead of a skeg.
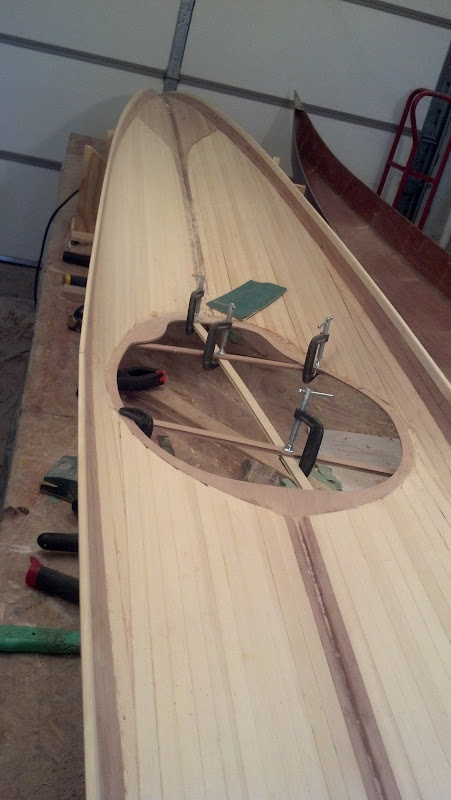
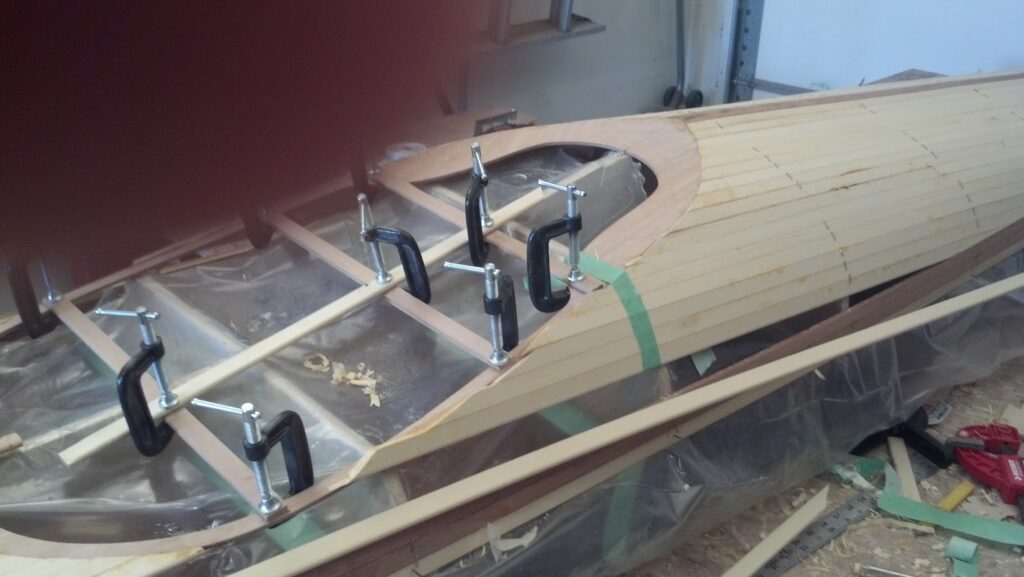
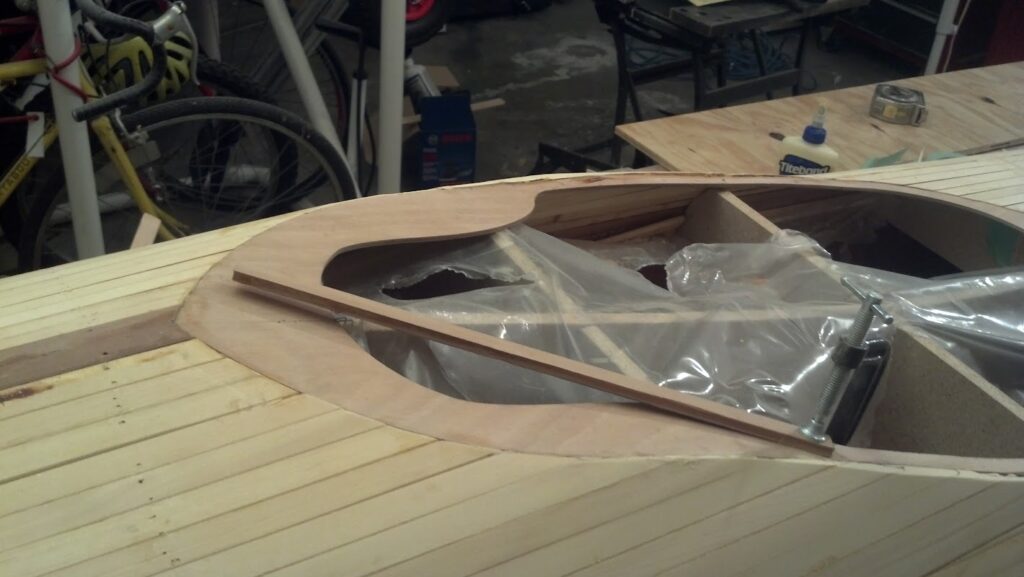
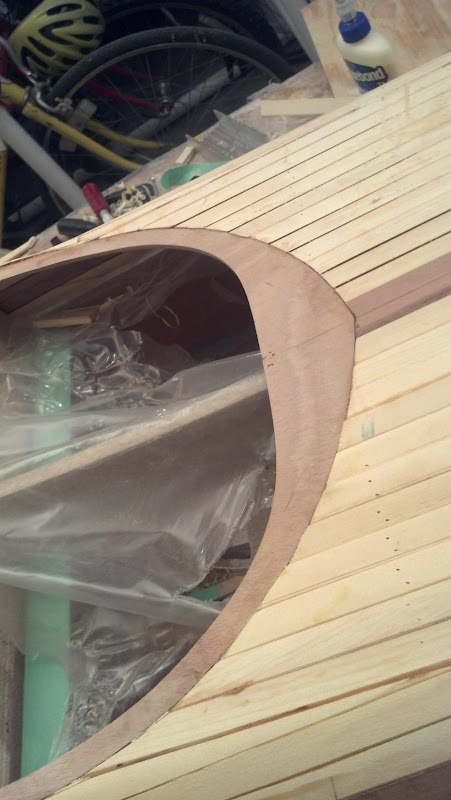
Now here is a huge gap in photos. I was always thinking of the next step and forgetting to take at least one picture. I missed covering the cutting out of the hatches. I was very nervous the whole time.
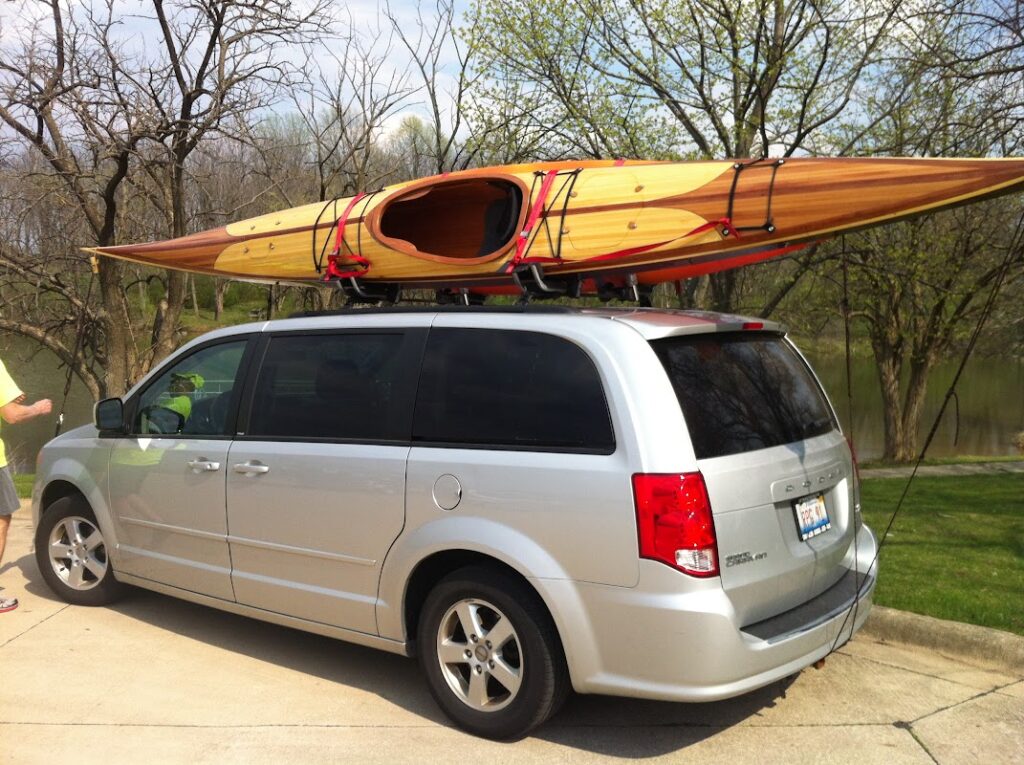
It’s not uncommon to have strangers come up to you and start talking about the boat-or how they used to have a boat. It’s an ice-breaker. All I need is a little puppy and we’d be the hit of the rest area.
Once you submit your post comment, please allow time for the comment to be approved before it appears on this page.