Once the hull forms were fastened firmly to the work surface and the hull was trued up, it was time to re-enforce the plywood joints. Using the recommended technique, I mixed a couple of ounces of marine epoxy then added wood flour to the epoxy. Wood flour is finely ground sawdust that is used to thicken the epoxy. It also darkens it as you can see in the photo.
Editing Note- When I started building the Night Heron in 2014, I had no idea that I would do a blog about the experience. These posts are recalling the build from memory with a few photos.
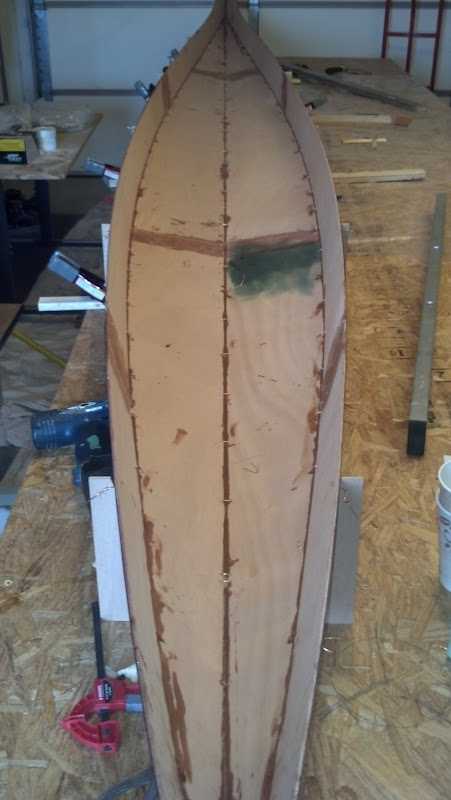
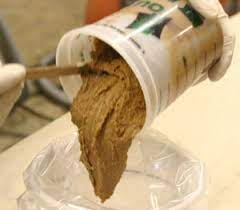
It’s kind of funny but the instructions used food as a reference as to the thickness or consistency of the thickened epoxy: ketchup, mayonnaise, peanut butter. For the first layer, I used mayonnaise and scooped it into a small baggie. I cut one corner of the baggie to give me about a 1/4″ bead and squeezed the epoxy out like decorating a cake. That worked perfectly. When I was done I carefully scrapped a little of the excess and let it cure.
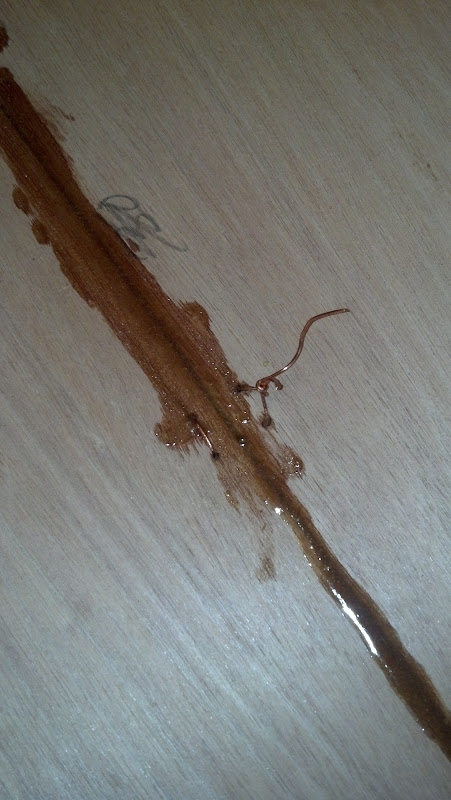
The next day before I added the second fillet joint, I removed the copper wire. I wish I had some more of my own pictures here but instead, I’ll use a couple from CLC.
For the most part I snipped the wire then pulled each out with pliers. Most came out easy, some more difficult, a couple wouldn’t release and just broke off. According to the instructions, that is to be expected. All you can do is snip it close, maybe sand the wire a little an leave it be part of the boat. I had three wires left behind. You can’t tell now but I know where they are.
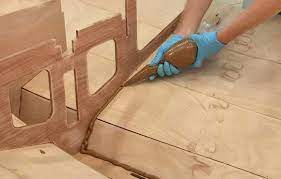
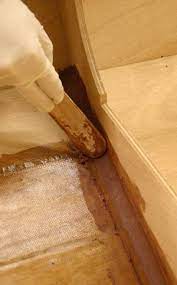
I made this fillet layer more like peanut butter and used a lazer cut piece of wood from the kit to form a nice fillet joint. These photos give you a good idea of the fillet technique.
Once you submit your post comment, please allow time for the comment to be approved before it appears on this page.