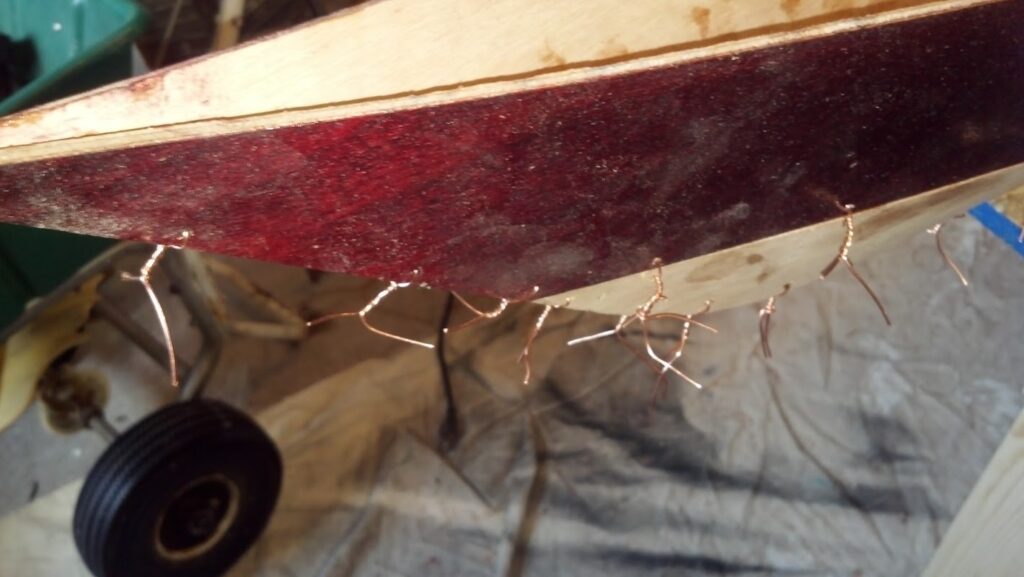
The Night Heron hull is assembled using the stitch and glue technique. You literally stitch the pieces of the boat together using wire. The hull panels came pre-cut and also were pre-drilled for the wire to be thread through. I failed to get good pictures here, posting about building the boat had not even crossed my mind.

Stitching with wire takes a little patience. You first have to assemble all the panels loosely. Doing that causes some of the plywood to bend and start forming the hull shape. Once all the wires are thread and loosely help, then you careful start twisting them tight. I started at the bow then went to the stern and repeated the twisting. I reasoned that those two locations had to line up and by doing so the rest would also line up. Due to the quality of the laser cutting and drilling the panels lined up almost perfectly.

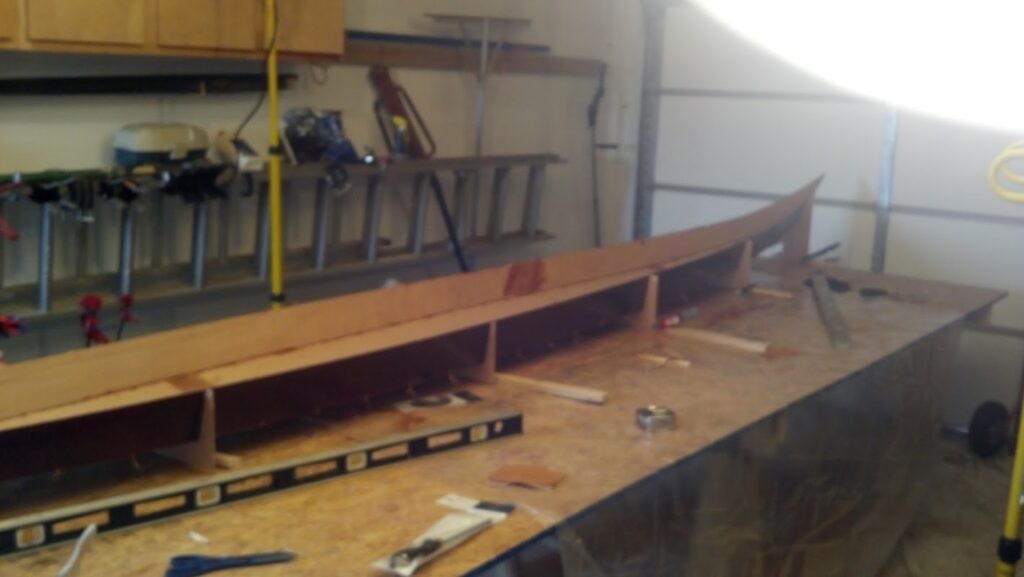
However, once the joints were pretty tight the hull was not straight and true. Due to the bending of the plywood, the tention was twisting the hull. This was completely expected. The kit came with eight external hull forms. Those are the u-shaped pieces on the outside of the hull that you can see in the picture. The forms also had pre-drilled holes that matched holes on the hull. I ran wire through those and twisted the wire loosely.
At this point the importance of a strong level and even work table came into play. I fastened 1×2 cleats to the table with screws then fastened the external forms to the cleats effectively anchoring the boat to the table. I checked for level and straightness. The hull looked almost perfect. I then went around the whole boat checking the joints. I did have to loosen some wires to get the proper overlap of the joints but after spending time double and triple checking the hull was straight, tight and true and ready for the next step.
Once you submit your post comment, please allow time for the comment to be approved before it appears on this page.